Built On A Dry Foundation
Blackburn Foundation Repair
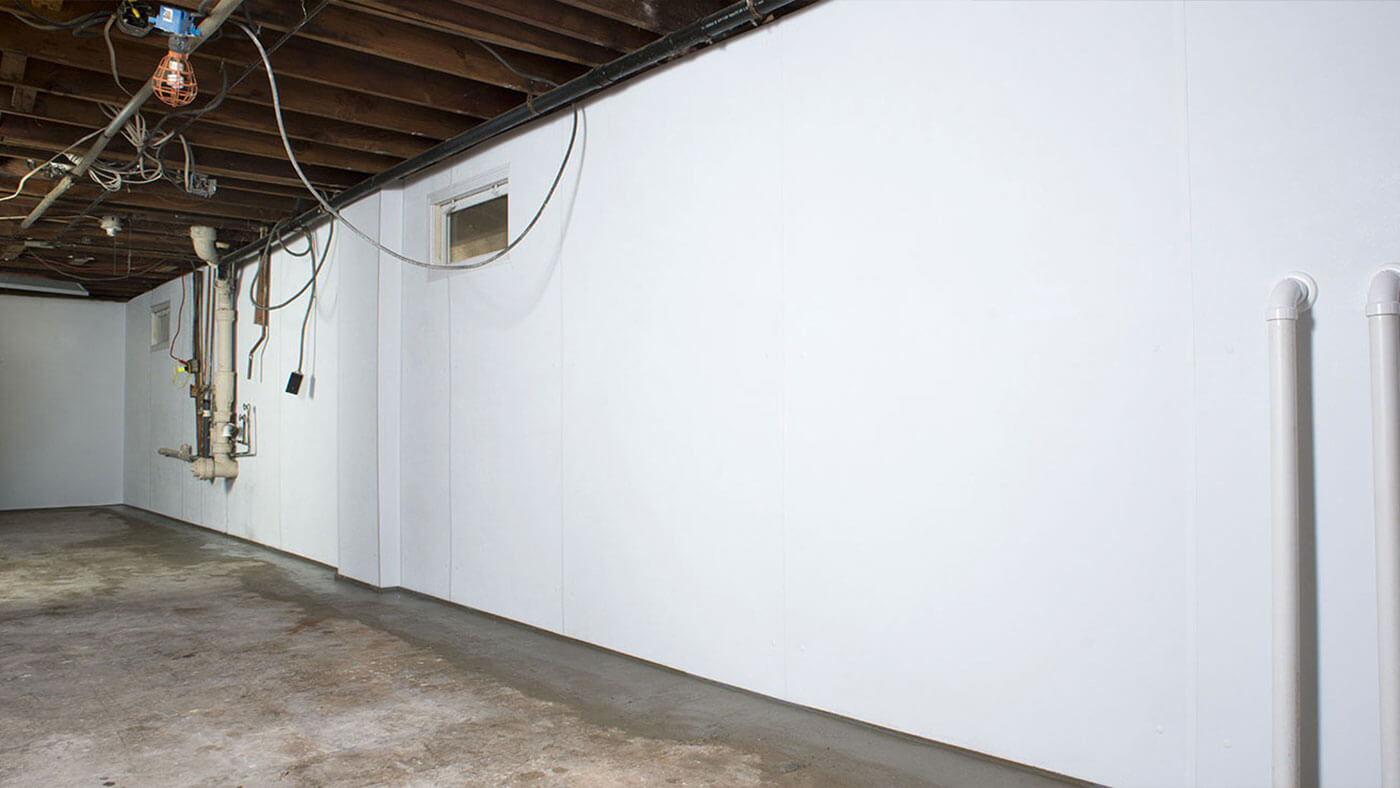
For homeowners across the Midwest, an unfinished basement often represents the largest untapped opportunity in the house. A dry, structurally sound basement can become a family room, home office, guest suite, or gym; instantly adding livable square footage without the cost of a home addition. But before any drywall goes up, the space has to solve one problem first: water.
Why Waterproofing Comes Before Remodeling
It’s tempting to jump straight to paint colors and flooring samples, but finishing a basement before addressing moisture is one of the most common, and expensive, mistakes homeowners make. Framing, insulation, and drywall installed over a damp foundation can trap moisture, leading to mold growth, warped materials, and musty odors that undo months of renovation work. A true remodeler’s roadmap always starts below the surface, not above it.
Step 1: Diagnose the Source
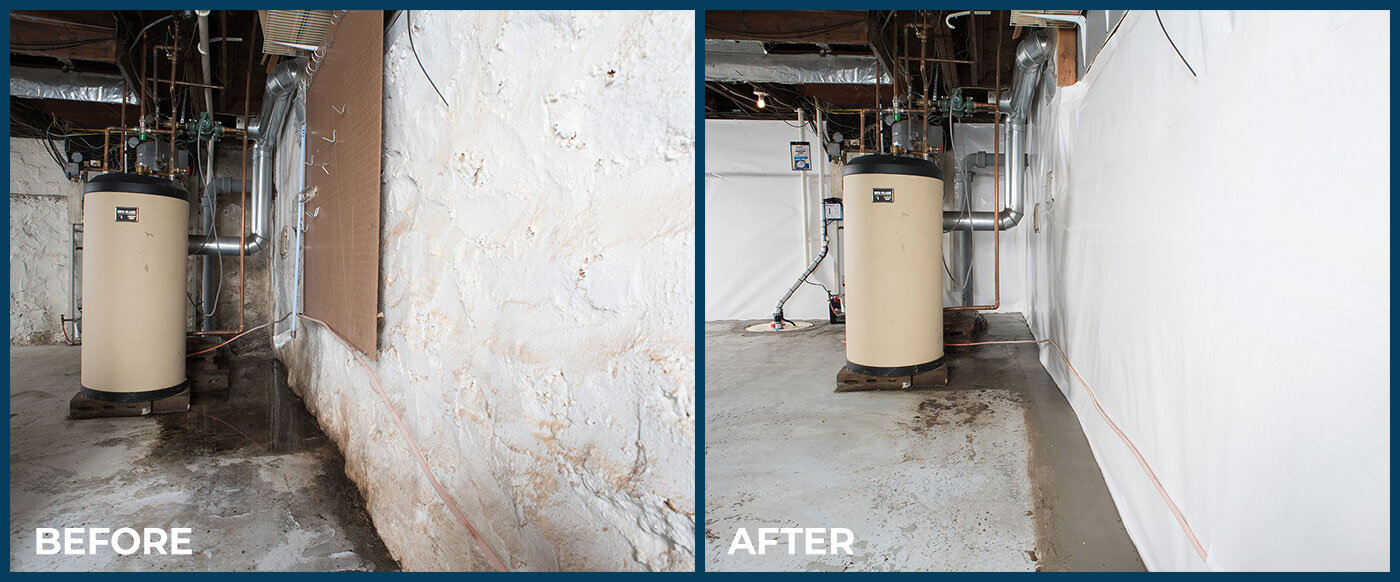
Every wet basement has a cause, and no two are exactly alike. Water can enter through hydrostatic pressure pushing against foundation walls, cracks in concrete, poor exterior grading, clogged gutters, or a foundation that has begun to bow or settle. A professional inspection identifies whether the issue is structural, drainage-related, or both, because the fix for a hairline crack looks nothing like the fix for a foundation wall under pressure.
Step 2: Address the Foundation
If the inspection reveals bowing walls, settling, or structural cracking, that comes first. Wall anchors, carbon fiber reinforcement, or push piers can stabilize and, in some cases, help straighten a compromised foundation. Skipping this step to save money often means tearing out brand-new finishes later when the underlying structural issue resurfaces.
The key is sequencing: diagnose, stabilize, drain, ventilate, then build.
Step 3: Install an Interior Drainage System
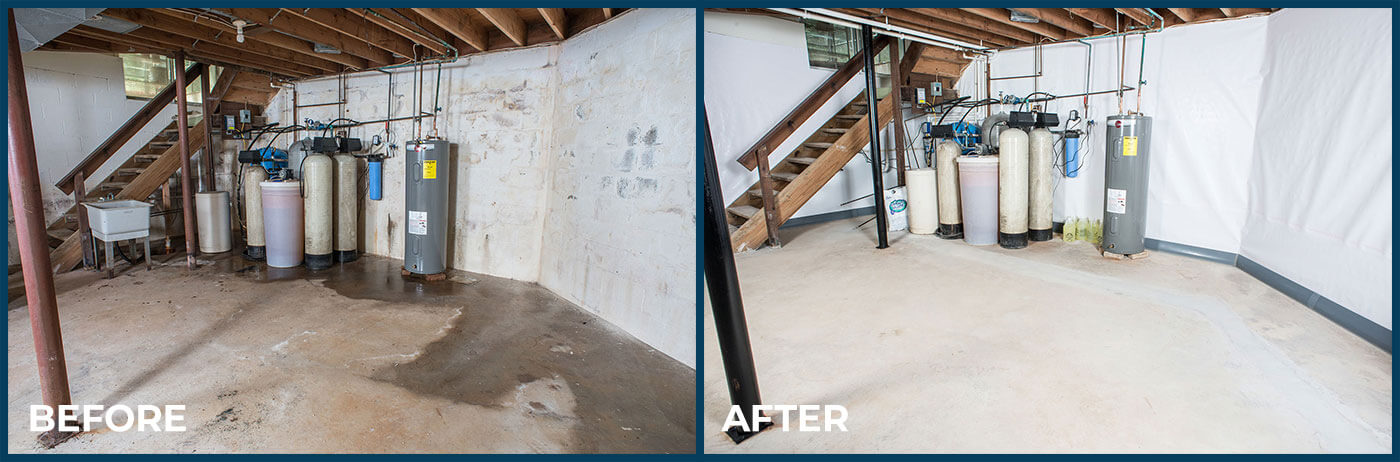
A properly designed interior drainage system channels water away from the living space before it ever reaches the floor. Paired with a reliable sump pump, ideally with battery backup for power outages, it creates a dry, stable base that framing and flooring can be built on with confidence.
Step 4: Manage Air Quality
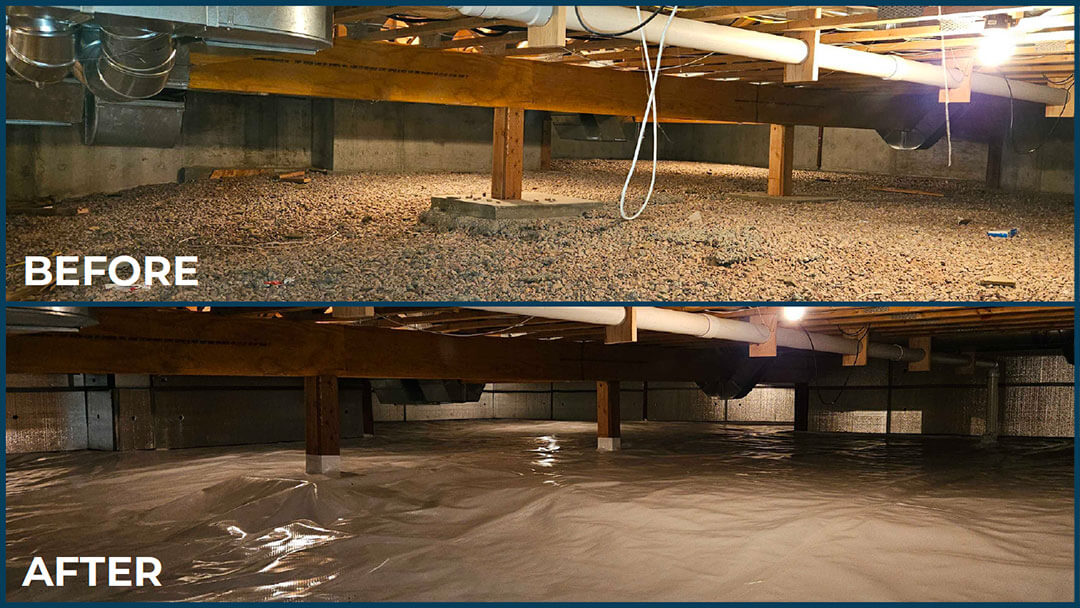
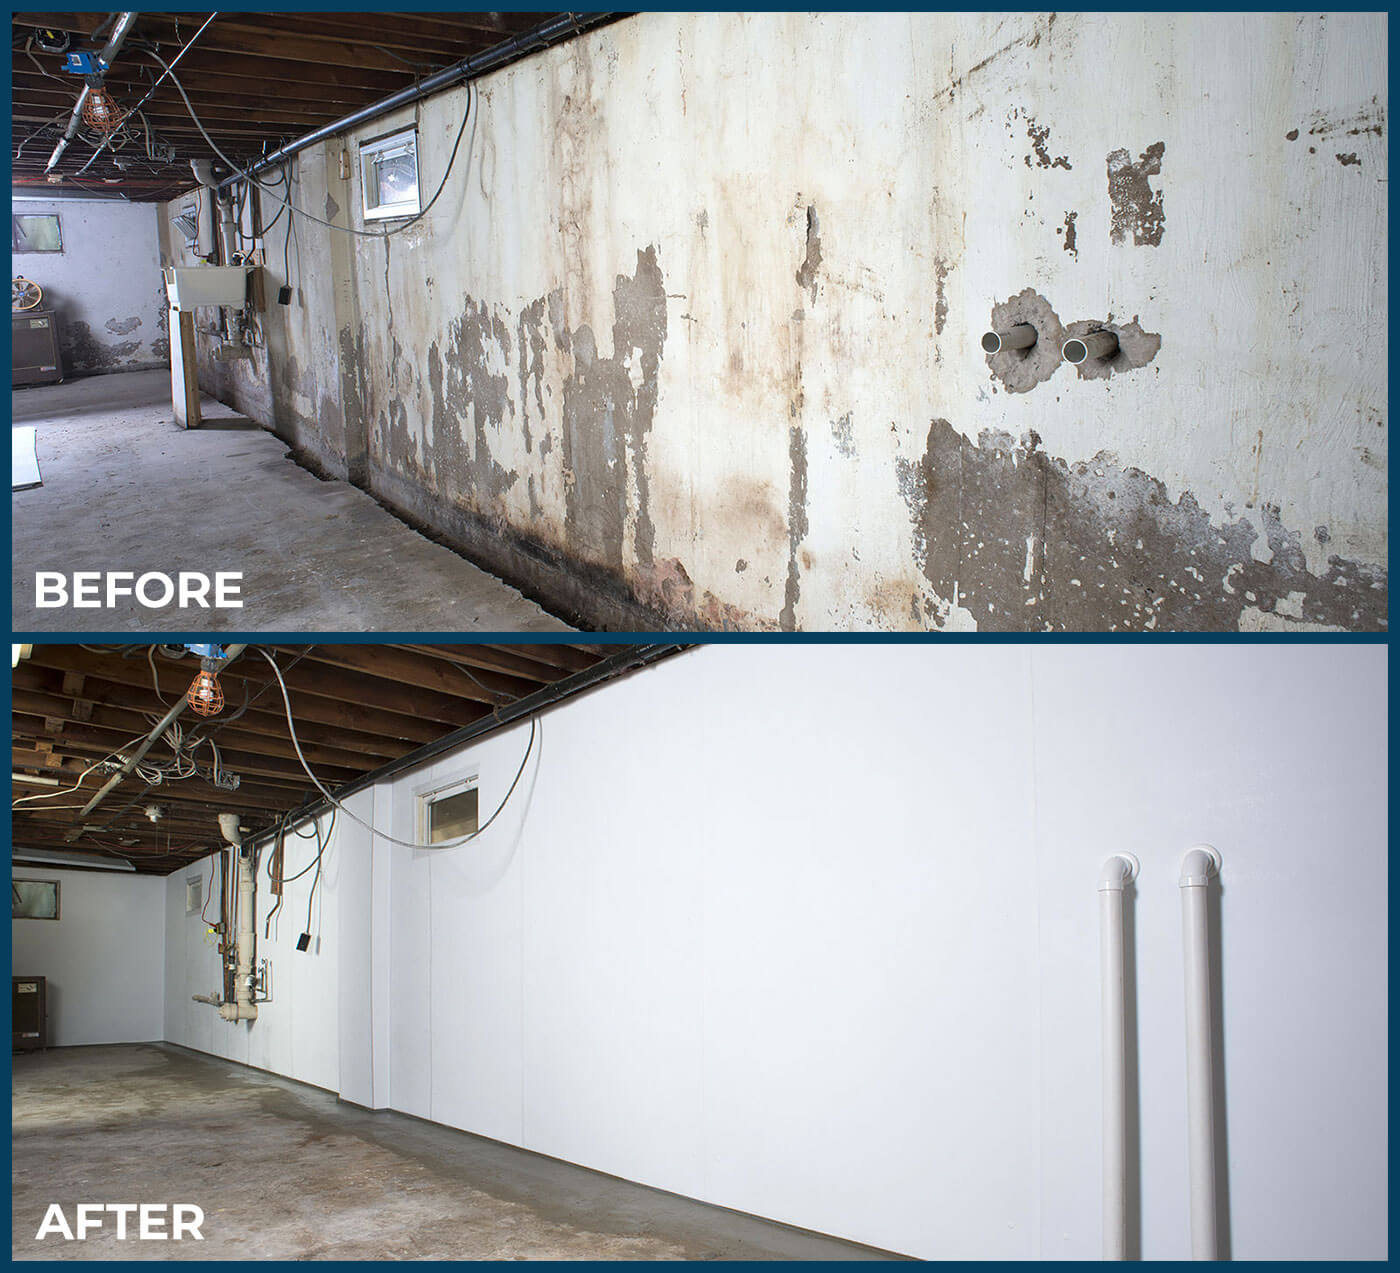
Basements are naturally prone to humidity, and dehumidifiers alone often can’t keep pace, especially once the space is finished and sealed. A dedicated basement air system helps regulate humidity and airflow, protecting new materials and improving comfort for anyone who’ll be spending time downstairs.
Step 5: Build With Confidence
Only after the water and air issues are resolved does it make sense to bring in flooring, framing, insulation, and finishes. At this stage, the basement behaves like any other room in the house because the moisture problem that made it “just storage space” has been solved for good.
The Payoff
A finished, dry basement doesn’t just add square footage; it adds real home value and everyday livability. The key is sequencing: diagnose, stabilize, drain, ventilate, then build.
Blackburn Foundation Repair has helped homeowners across South Dakota, Wyoming, and Nebraska solve wet basements since 1992, with warrantied solutions built to support whatever comes next. A free inspection is the first step on the roadmap.

(800) 392-3389